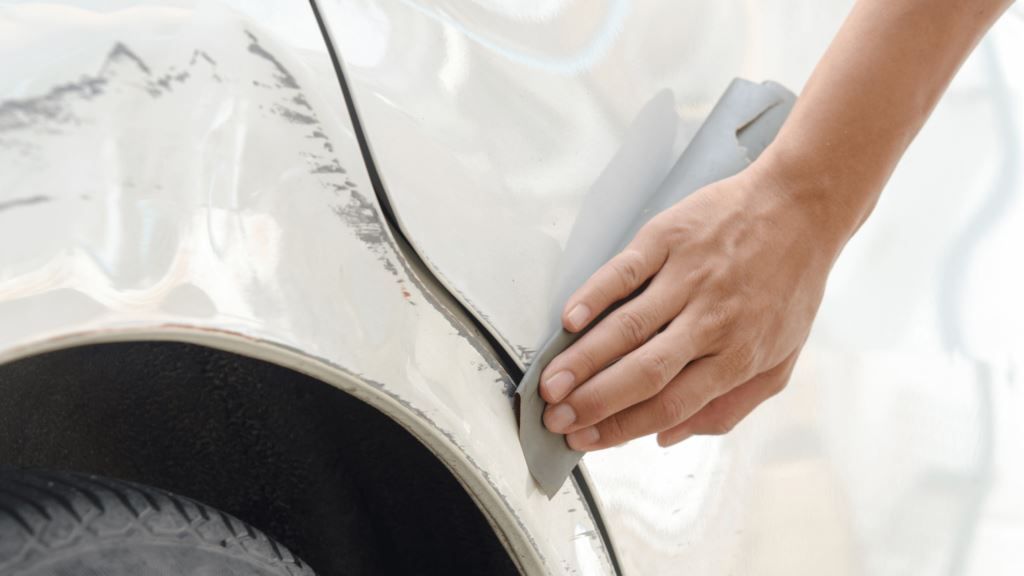
Finding a scuff on your car’s beautiful paint after coming back from grocery shopping or getting a bite to eat can make you lose your mind. Ugly paint transfer sticks out like a sore thumb, and, if left to its own devices, can cause even more damage to your paint job.
Luckily, there are plenty of solutions to help take care of this annoying problem. While dealing with paint transfer does take a bit of elbow grease, it’s not terribly difficult as long as you know what to do and take quick action.
As you read on, this article will discuss each of the steps you’ll need to take to remove these unsightly blemishes. And, as a bonus, you’ll also learn about a few common household items that you can use to help remove paint transfer, and hand you a new secret weapon to help you easily remove all sorts of car paint imperfections: Reverse from Torque Detail.
★★★★★
496+ 5-star reviews
Reverse is the newest car detailing product that easily removes scratches and swirls by hand. This car scratch remover and car paint scratch repair compound will bring your paint back to new. It’s also a water spot remover and swirl remover. Make paint correction easy with this all in one formula.
What Is Paint Transfer?
As you’ve probably already guessed, paint transfer happens when two or more painted objects bump, scrape, scratch, and crash against each other.
When soft paint, usually found on metal poles and walls, rubs against the body of your car it causes the soft paint to smudge or smear against it.
Another term for soft paint is dead paint. This happens because of oxidation. You can easily observe this on any number of painted metal poles. After constant exposure to sun and rain, the paint will look dull and soft, giving it a hazy appearance.
While other factors can produce dead paint, like acid rain and exposure to strong chemicals, oxidation is the typical cause of dead paint. This, in turn, is a leading culprit of paint transfer.
What Causes Paint Transfer?
Plenty of reasons exist as to what causes paint transfer. As mentioned earlier, bumping against a metal pole can easily cause paint transfer to occur.

Getting into a minor accident with another car or simply bumping your car door against another can also cause paint transfer to happen.
The only way for you to prevent it from happening is by keeping it inside the garage all the time and not taking it out. But that’s no fun, and no one is ever going to do that.
How To Remove Paint Transfer From Your Car?
Removing paint transfer from your car is a slightly difficult task that requires a lot of patience and hard work. Rush the process, and you’ll end up doing more harm than good. The following instructions will allow you to become an absolute boss when it comes to removing paint transfers at home.
1. Gather The Necessary Tools/Materials
First, you need to buy and gather all the tools, materials, and products that you will need for this project before starting it. This way, you’re not missing anything as you follow the rest of the instructions.
Here’s the list of things that you need for this DIY project:
- Microfiber towels
- Polishing compound
- Reverse Scratch & Swirl Remover
- Safety goggles
- Nitrile gloves
If you’re going to buy a polishing compound and a scratch repair product, consider getting Reverse by Torque Detail. It’s a cheaper alternative than buying two different products. And you can use this by hand without the use of any fancy or complicated tools, unlike other products on the market.
2. Prepare The Surface
Next, you need to prepare the surface of your car in a cool, shaded area away from direct sunlight. This is to avoid damaging the exterior any further as you work on it.
Then you need to wash your car, or at the very least, wash the affected area. This is to remove any contaminants present on the affected surface of your car.
If you don’t, these contaminants can easily rub and scratch against the exterior of your car while you remove the paint transfer. And the last thing you want is to damage your car further.
3. Apply The Product
After completely drying your car, it’s time to bring out the polishing compound and the scratch repair product. Or, in this case, Torque Detail’s Reverse.
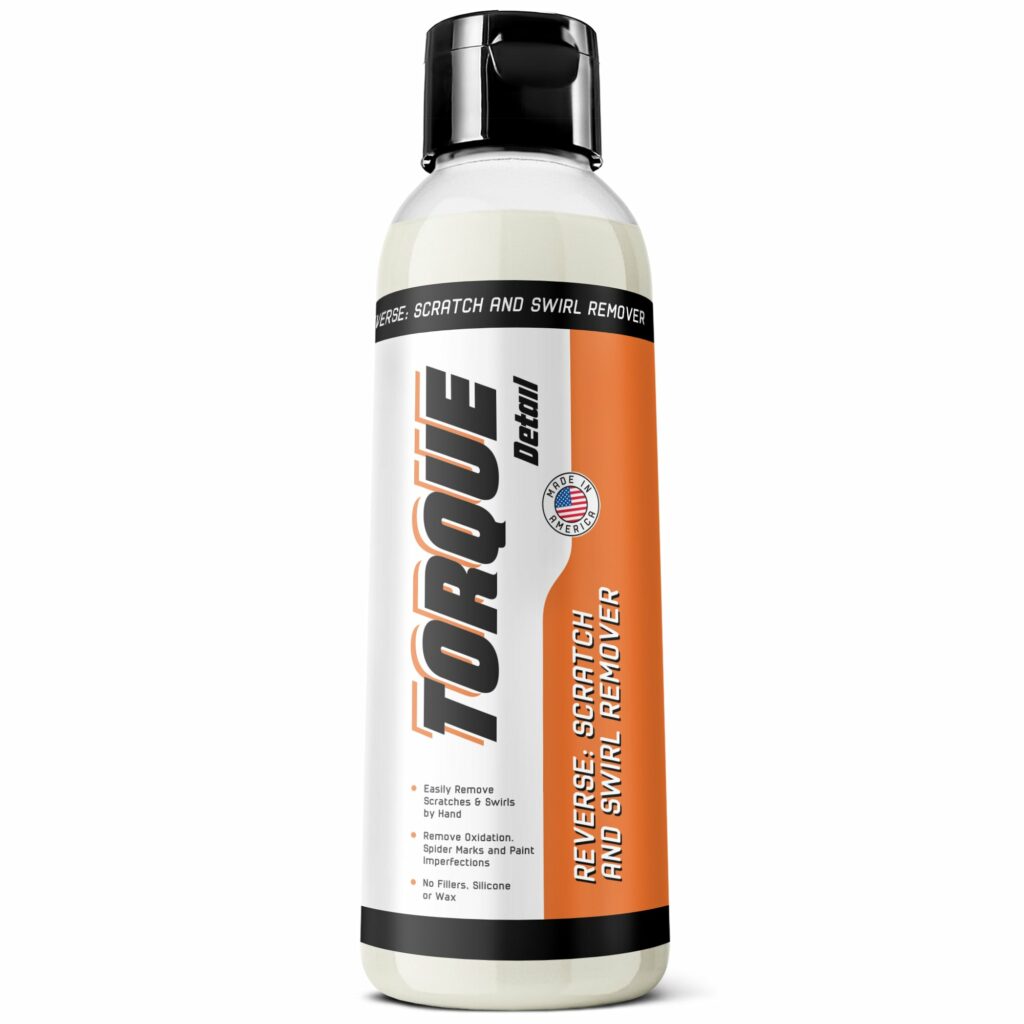
Apply a small amount of the product to one of the microfiber towels and start rubbing it against the affected area.
Don’t apply too much force in the beginning. Instead, focus on rubbing the product onto the affected area in small circles.
Then slowly increase the pressure to help remove the paint transfer. But keep an eye out on the surface, as you don’t want to accidentally cause unnecessary scratches.
Afterward, use another microfiber towel to wipe away the excess product from the affected area. Then check for any remaining paint transfers and scratches.
4. Repeat If Necessary
After the initial application, repeat the previous step if there is any remaining paint transfer on the affected area.
Make sure to use a clean part of the microfiber towel each time you apply Reverse.
After making sure that there are no more leftover paint transfers or scratches, clean the affected area off and leave it to dry for a couple of minutes.
5. Restore The Shine
Lastly, buff the affected area and use a sealant such as Mirror Shine to help restore the luster. Additionally, you can add a layer of ceramic coating to give it some much-needed protection.
Are There Other Available Methods To Removing Paint Transfer?
If you don’t have the money to throw at this problem, there are other readily available home products that you can use.
A common household product that you could use is toothpaste. It’s a mild abrasive that can help polish off the paint transfer from the affected area.

Just simply follow the previous list of instructions using toothpaste instead. While not as effective, it does work, just takes more time and elbow grease.
Can WD-40 Remove Paint Transfer?
One product that ranks high on every car owner’s list when it comes to multi-purpose products is WD-40. You can use this product to fix scratches, deal with sticky debris, and, of course, remove paint transfer.
Again, before you get started, always make sure to thoroughly wash the affected area.
Just give the can a couple of good shakes before spraying it over the affected area. Let the solution soak in for a few minutes. After that, grab a microfiber towel and proceed buffing away the paint transfer.
Take your time and don’t rush it, all while applying the correct amount of pressure to avoid damaging your car’s paint. In just a few minutes, the paint transfer will begin to slowly come off.
If necessary, you can spray more WD-40 on the affected area and repeat the process. Finally, grab a clean microfiber towel to wipe away the excess, and finish the job by giving your pride and joy a nice bath.
One thing to remember is that while WD-40 does an acceptable job of removing paint transfer, if you want the best results, it’s better to use Reverse by Torque Detail. It’s one of the best products available. It’s safe, and simple to use, and it streamlines the whole process.
Reverse can also deal with any other scratches along the way. So if the initial contact that caused paint transfer to happen also created a scratch on the affected area, then Reverse can help remove that as well. You can also use this to repair swirl marks, spider marks, and water spots without any hazing or streaking during application.
How To Protect Your Car Against Paint Transfer In The Future?
While you can’t prevent paint transfer from happening, there is something you can do to protect your car from it so that you won’t have a difficult time dealing with it. And that is to apply a layer of ceramic coating to your car.

Ceramic coatings are hydrophobic and give your car superior resistance to a whole variety of things, such as UV radiation, chemicals, extreme temperature conditions, dust, dirt, grime, moisture, and scratches. The list goes on…
Not only does it give protection to your car, but it also locks up your car’s paint. What this means is that you don’t have to worry about your car’s paint oxidizing and turning into dead paint, just as long as there’s a layer of ceramic coating.
Additionally, commercial coatings can last up to two years, and they’re not that expensive, so it’s a good investment for you to make.
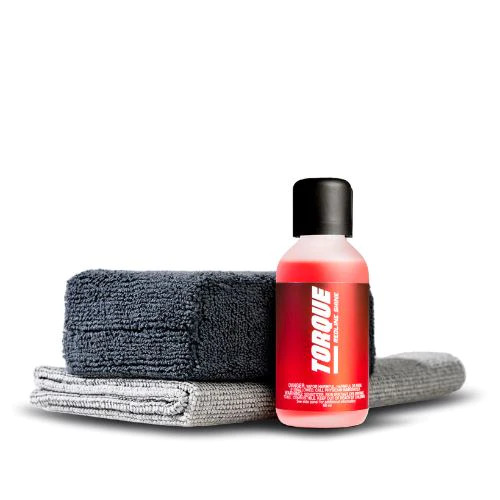
If you’re looking for a commercial ceramic coating online right now, then try checking out Torque Detail’s Redline Shine. It’s so easy to use that a complete novice who knows nothing about ceramic coatings can apply it like a pro.
★★★★★
6k+ Verified Customer Reviews
Redline Shine is a 7H hardness polysiloxane ceramic coating that protects your vehicle from grime, contaminants & chemicals. You’ll get up to 2 years of protection even in the harshest conditions.
To prepare for Redline Shine, all you need to do is simply wash your car, and use a clay bar treatment to help remove all contaminants from your car’s surface.
Then, using a microfiber towel, apply a small amount of the product to it before you start rubbing it against the surface of your car, working in sections at a time.
After applying Redline Shine throughout the surface of the car, allow it to cure for at least six hours. This will allow you to get the best results and ensure that your car is well-protected against the elements while retaining its color for two whole years before you need to reapply the coating again.
Summary
While paint transfer is an annoying issue to deal with because of how easily it can occur, you don’t need any fancy tools or expensive products to remove it. Instead, all it takes is a bit of time and hard work to deal with paint transfer safely and carefully without ruining the surface of your car.
And, if you want to protect your car from paint transfer in the future, consider using Redline Shine. It’s an inexpensive investment to keep your car safe from future scratches and other damage, all while retaining your car’s paint color and keeping it as glossy and bright as the day it rolled off the assembly line.

