Your Mercedes-Benz is not just a car; it’s a statement of class and elegance. As a proud owner, you know how important it is to maintain this high-end investment. And regular car washes are part of that.
But let’s be clear, we’re not talking about the run-of-the-mill, drive-thru car washes here. We’re talking about a DIY wash, the kind that’s done with the utmost care that your Mercedes deserves.
★★★★★
6k+ Verified Customer Reviews
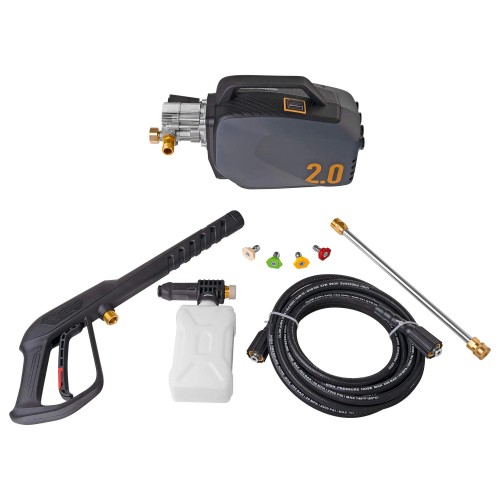
The #1 most important tool that you can use to clean your car: a pressure washer. We went with the best PRO performance on a DIY budget, the Active 2.0 Electric Pressure Washer. Most low budget pressure washers in big box stores don’t provide the optimal GPM for a foam cannon or proper PSI to clean the car.
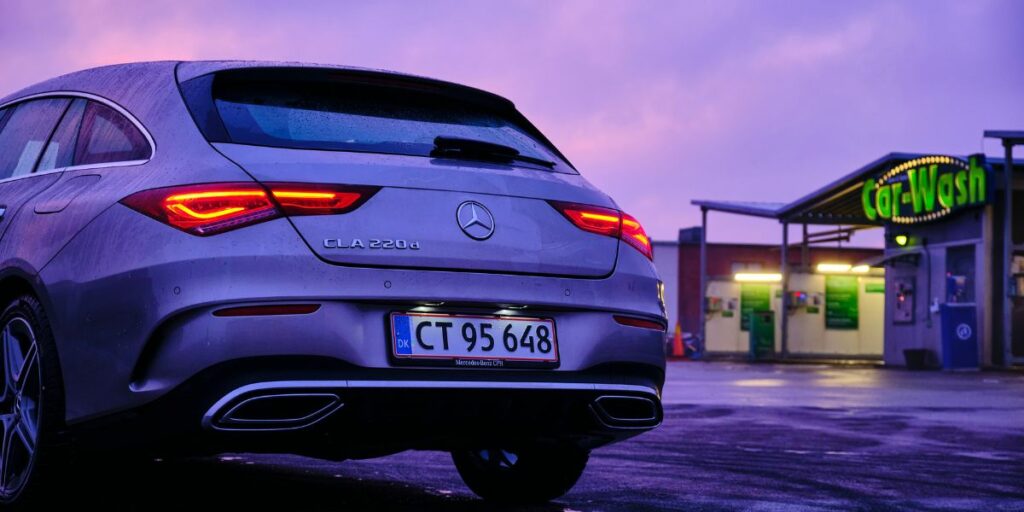
Taking good care of your Mercedes involves much more than just regular brake checks, oil changes, and tire rotations. It also means giving it a thorough and meticulous car wash.
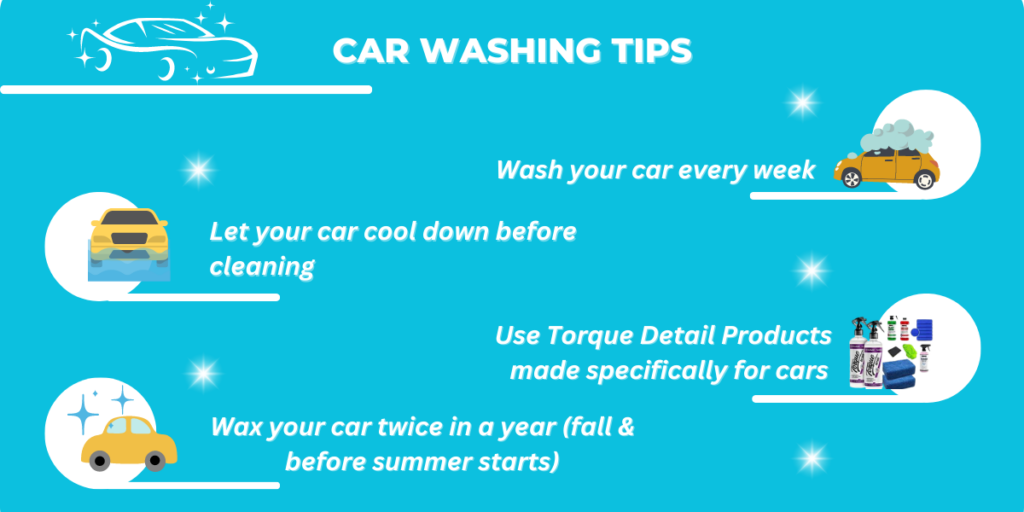
Some car owners may only wash their vehicles a few times a year. Still, if you genuinely want to maintain the pristine condition of your Mercedes, then make it a habit to clean it once a week.
At Torque Detail, we understand what it takes to clean your prized possession. We’re going to show you how to give your Mercedes the ultimate car wash with two buckets wash method. Plus, we’ll guide you through some Mercedes-specific detailing tips to take your car’s appearance to the next level.
So, whether you’re a seasoned detailer or a first-time car washer, follow the directions below to keep your Mercedes-Benz in top shape. Trust us; your Mercedes will thank you for it. Having a sparkling super-clean car will turn heads wherever you go.
What You Need
The two-bucket method is an excellent choice if you want a more sophisticated way to wash your Mercedes-Benz. With this advanced technique, you can prevent nasty swirl marks and scratches from showing up on your car.
For cleaning your Mercedes, two buckets are ideal. One for soapy water and the other for rinsing. That way, you can effectively minimize the amount of dirt and debris your Mercedes picks up while washing.
To properly execute the Mercedes car wash using the two-bucket setup, you will need the following items:
Step 1: Gather Your Supplies
To start, get these supplies:
- Pressure washer, here is one that gives you pro quality for a budget price.
- Two large buckets (one for soapy water and one for rinsing)
- High-quality car wash soap (Decon Wash)
- A microfiber wash mitt or sponge
- A drying towel (preferably made of microfiber)
- Purple Destroyer Wheel cleaner
- Torque Detail Redline Shine
Make sure you use high-quality products designed only for washing cars to avoid damaging your Mercedes-Benz’s paint or stripping any protective coatings.
The Basic Wash
Now that you have all the necessary tools, follow these step-by-step instructions for washing your Mercedes-Benz:
Step 2: Rinse off the vehicle
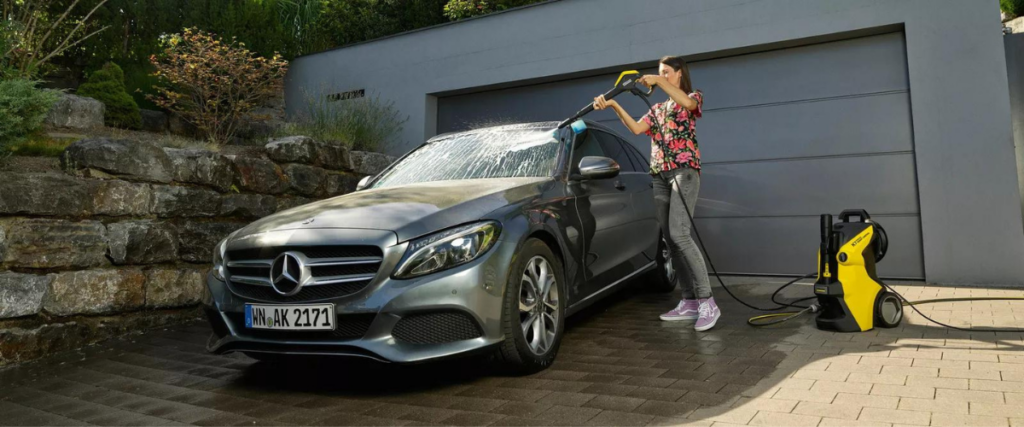
Prior to starting the wash process, rinse off your Mercedes with a hose or pressure washer to eliminate any loose dirt and debris that may be present on the surface. It will help stop any abrasive particles from scratching the car’s paint during cleanup.
Step 3: Prepare Your Buckets
As you begin the advanced Mercedes car wash using the two-bucket method, fill the first bucket up with Decon Wash soap and water mixture. Decon Wash soap is a great option for removing dirt, grime, and other contaminants from your car’s surface.
It’s specially formulated to strip away any previous wax or ceramic coatings you’ve applied, so you get a deeper clean. When using the wash soap, make sure to follow the manufacturer’s instructions for proper dilution. This will ensure that you’re using the correct amount of soap for optimal results.
Put clean water in the next bucket for rinsing. It’s essential to have a separate bucket to prevent any dirt or debris from sticking to the wash mitt or sponge. Using the same water to wash and rinse your car can lead to swirl marks and scratches. In that case, you’ll have to fix them, which can be pretty expensive.
Step 4: Wash One Section at a Time
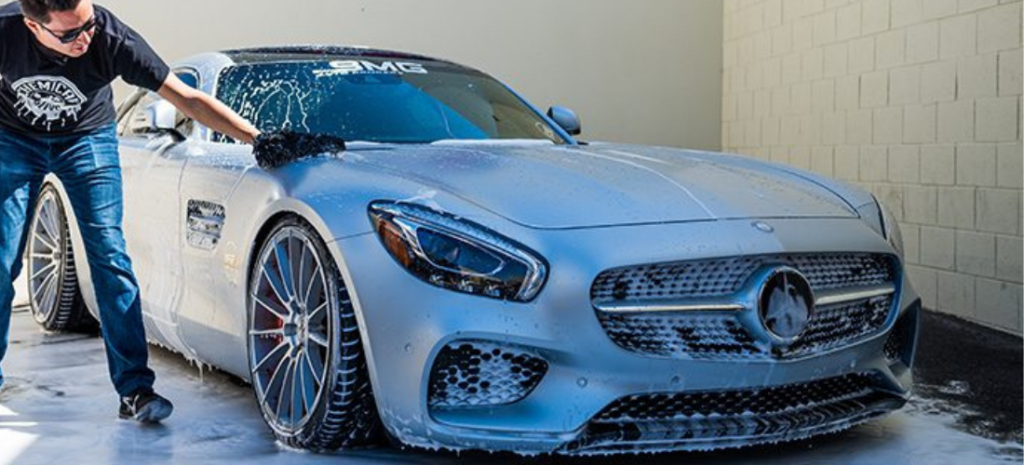
Start washing one section of the car at a time using the microfiber wash mitt. Dip the mitt into the soapy water and then wash the car section, working your way down from the top. Rinse the mitt in the clean water bucket before dipping it back into the soapy water to avoid transferring dirt and grime back onto the car.
Step 5: Give your car a refreshing rinse
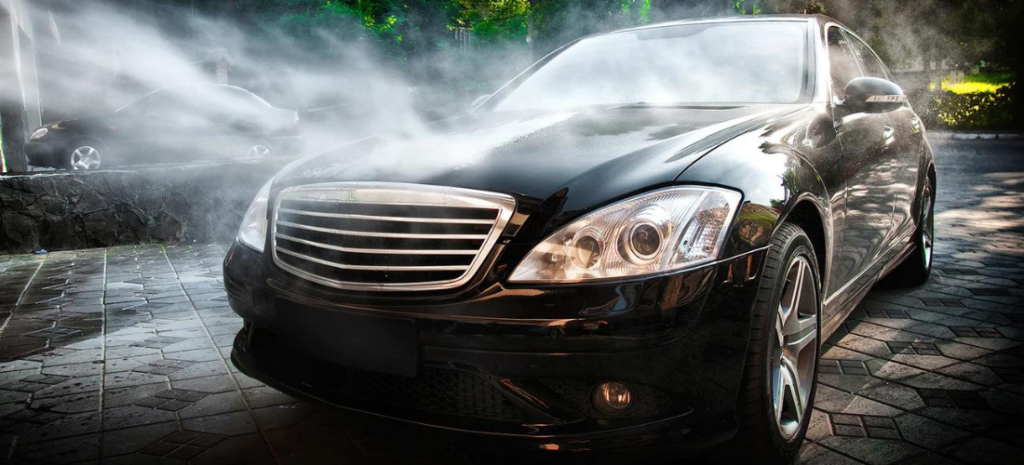
Once you’ve washed a section, rinse it thoroughly with the hose or pressure washer before moving on to the next section.
Step 6: Clean the Wheels and Tires
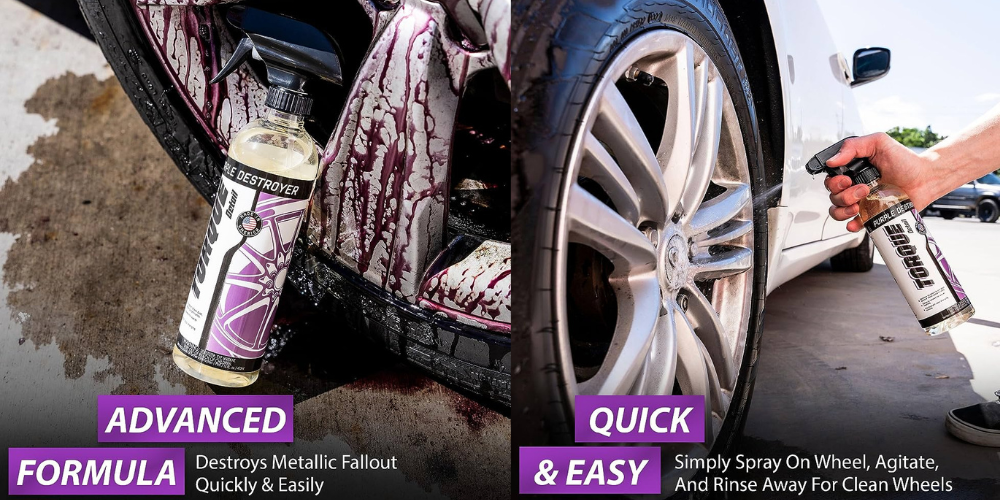
Use a Purple Destroyer wheel cleaner and stiff-bristled brush to clean the wheels and tires. These areas typically have more dirt and grime than the rest of the car. For the wheels and tires, use a separate gentle bristle brush and soapy water bucket to avoid cross-contamination.
Step 7: Clean the Windows and Mirrors
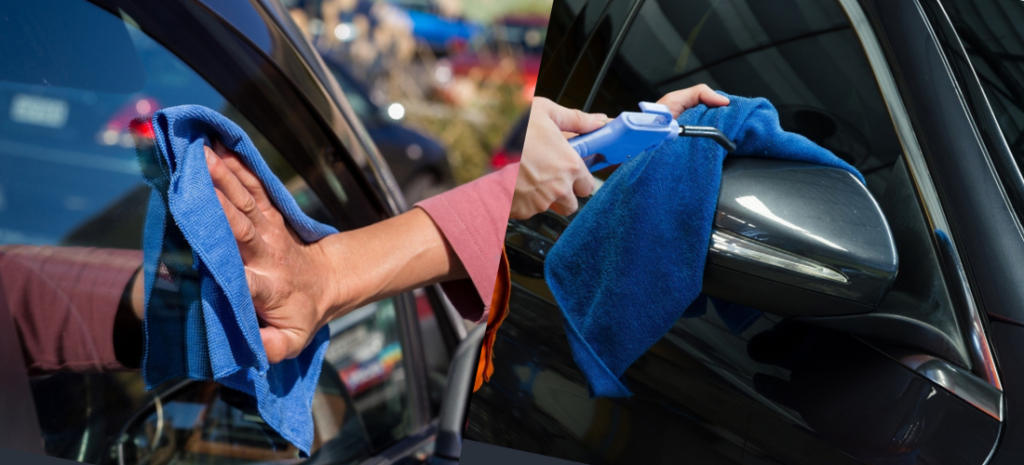
Use a glass cleaner and a clean microfiber cloth to wipe the windows and mirrors.
Step 8: Dry the Car
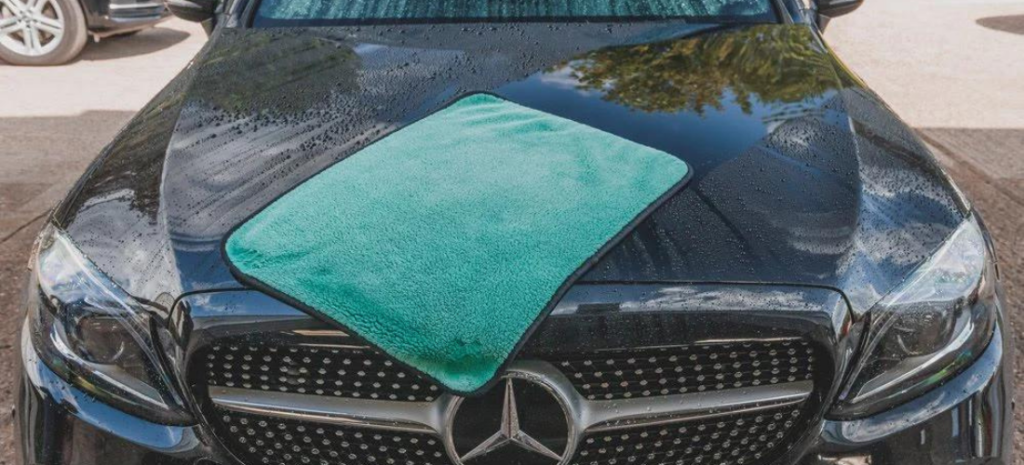
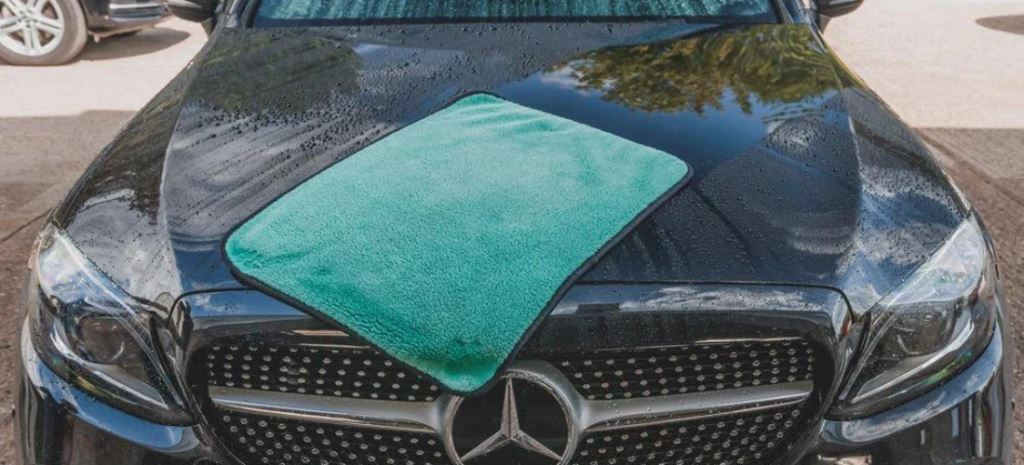
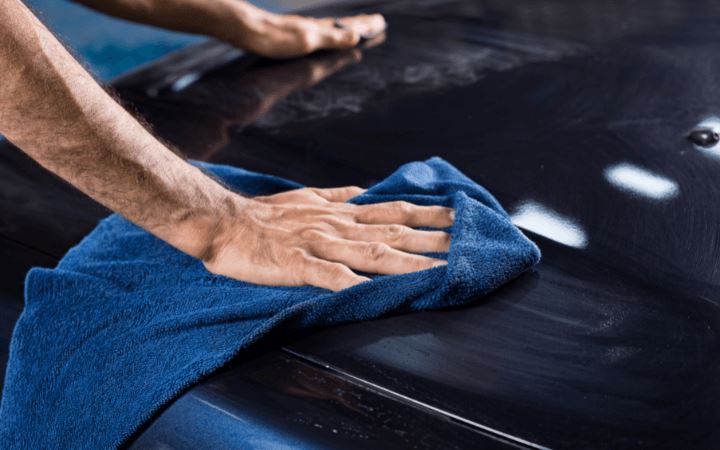
After rinsing, it’s time to get the car dry. Use a microfiber towel to dry the car, starting from the top and moving downward. Be sure to dry out all the crevices and hard-to-reach areas to prevent water spots.
Step 9: Transform your car’s look with clay bar treatment and paint correction
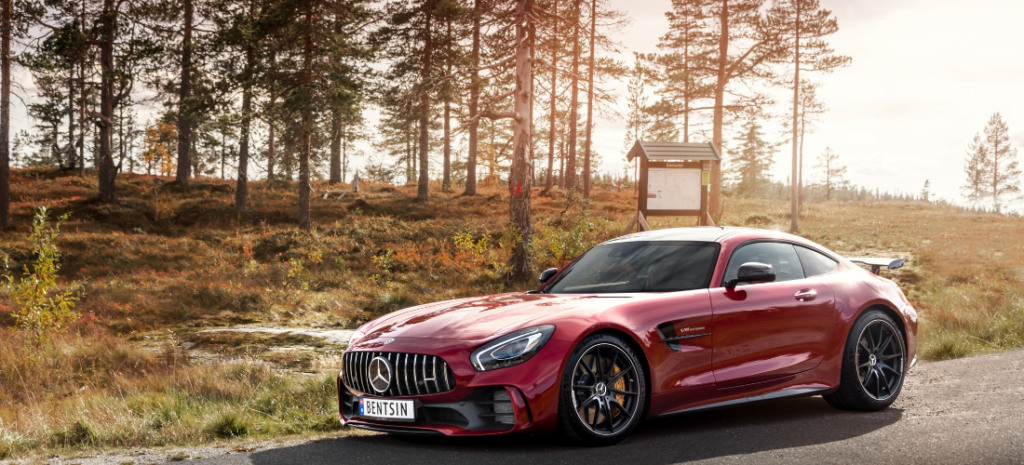
The next crucial step in the Mercedes car wash process is to use a clay bar to remove any embedded paint contaminants that may still be present on the vehicle’s surface. Using a clay bar will help to smooth out the paint and leave it feeling silky and clean to the touch.
For this step, we recommend using the Torque Detail Clay Kit, which comes with everything you need to complete the task effectively.
Before using the clay bar, make sure to rinse your vehicle thoroughly to remove any loose debris. Then, as per the instructions provided with the kit, gently rub the clay bar over the paint’s surface.
The clay bar will help to lift and remove any stubborn contaminants. You know, like tree sap, tar, or brake dust that may be stuck to the paint.
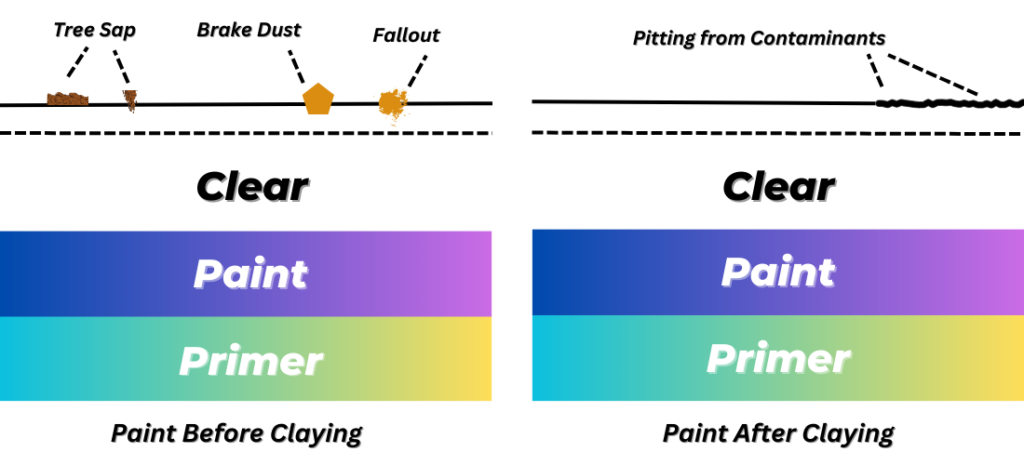
Once you have finished using the clay bar, inspect for any scratches or swirl marks caused by the washing process. If you find any, we recommend using a paint correction kit such as the Torque Detail Reverse kit to remove them.
Make sure to follow the instructions carefully and take your time to avoid causing any further damage to the paint.
Step 10: Incorporate Luster and Shield for Your Car
The final step in the advanced Mercedes car wash process is to apply a high-quality shine and protectant to the paint. This will provide a glossy finish that is environmental-resistant. We recommend using Torque Detail Redline Shine, a premium product that provides up to two years of protection and a deep shine.
To apply the product, make sure the car is clean and dry. Then, read the manufacturer’s instructions. After that, apply a small amount of the product to a clean microfiber applicator pad and rub over the paint in circular motions. Working on one section at a time is best to ensure even coverage.
After applying the product to the entire vehicle, let it sit for the recommended time, ideally a few minutes, and allow it to cure. Once it has cured, buff the product off with a clean, dry microfiber towel.
Be careful not to leave any streaks or residue behind.
Expert Detailing Recommendations Tailored for Mercedes Owners
Apart from the basic steps of the perfect Mercedes car wash, there are some Mercedes-exclusive detailing tips to keep in mind.
The hood ornament is a distinctive feature in Mercedes-Benz vehicles and requires special attention when cleaning. For effective cleaning, we recommend using Torque Detail Ceramic Spray. Apply the solution to a clean microfiber towel and gently wipe the ornament to remove any dirt or grime.
When it comes to cleaning the wheels of your Mercedes, it’s important to use a non-acidic wheel cleaner that’s specifically formulated for the task. We encourage using the Torque Detail Purple Destroyer Wheel Cleaner.
It is designed to effectively remove brake dust and road grime without damaging the finish of the wheels. Simply spray the cleaner onto the wheels, and leave it on for a couple of minutes. And then rinse it off with a pressure washer or garden hose.
Try to implement these Mercedes-specific detailing tips. As a result, your Mercedes-Benz will maintain its iconic style and luxury in the long run.
★★★★★
6k+ Verified Customer Reviews
The #1 most important tool that you can use to clean your car: a pressure washer. We went with the best PRO performance on a DIY budget, the Active 2.0 Electric Pressure Washer. Most low budget pressure washers in big box stores don’t provide the optimal GPM for a foam cannon or proper PSI to clean the car.
Wrap-Up
Achieving the ultimate Mercedes car wash requires much more than just a hasty rinse and soap application. To preserve the lavish appearance of your Mercedes, a careful and meticulous approach is essential. You just have to do the two-bucket wash and utilize top-quality products with Mercedes-specific tips.
Doing so, you can effortlessly maintain your Mercedes’ new car shine. Don’t forget to shower extra attention to the emblematic hood ornament and wheels. In particular, when using specialized solutions such as Torque Detail Ceramic Spray and Wheel Cleaner.
Protecting the paint of your prized possession with superior products such as Torque Detail Redline Shine is also crucial. By adhering to these measures, you can attain the ultimate Mercedes car wash. On top of that, you can keep your vehicle’s luxurious look and performance in superb shape for years to come.

